Accurids Push Feature
Overview
The Push feature in Accurids allows you to configure each dataset to be pushed to multiple targets. This feature is designed to be flexible and easy to use, giving you control over what data is pushed, when it is pushed, and where it is pushed to.
How to Use the Push Feature
Create a Target
The first step in using the Push feature is to create a target. A target is the destination where you want to send your data. Targets can be reused across different datasets and by different users if they are set to public. When creating a target, you will need to provide the necessary authorization details as each target requires a certain type of authorization.
- Go to the Dataset details page.
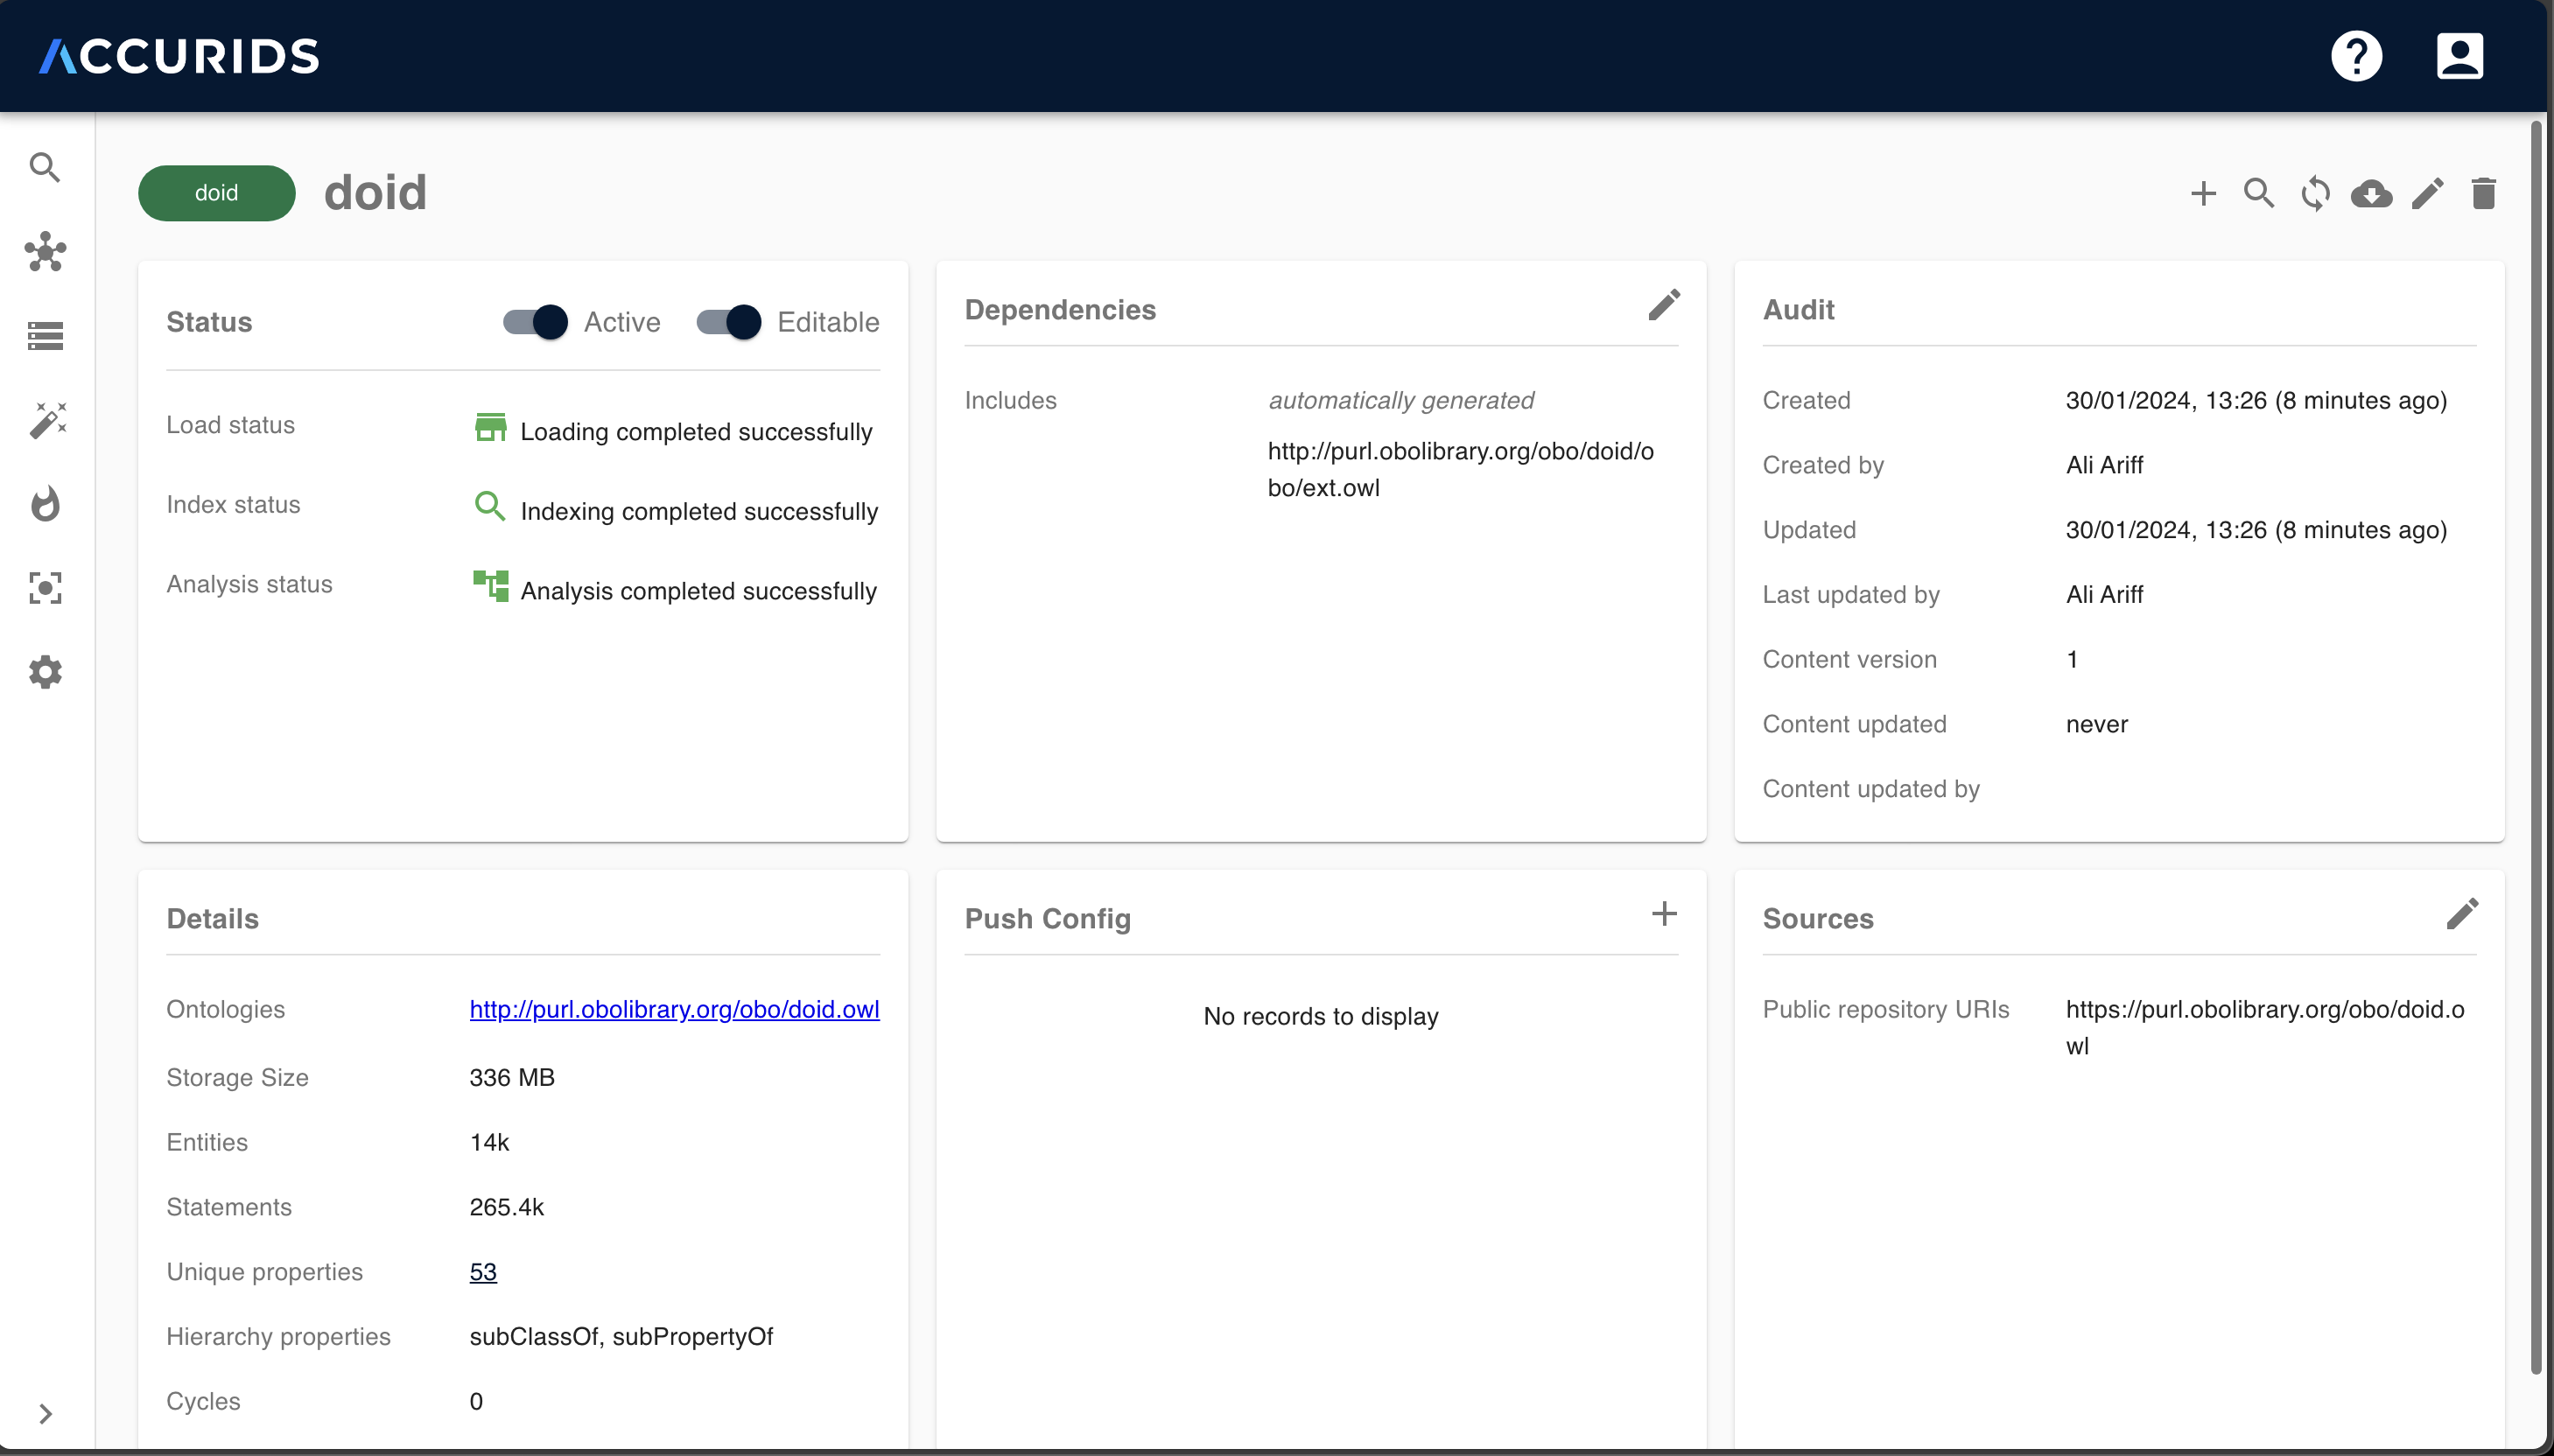
- Click the
+icon on thePush Configsection.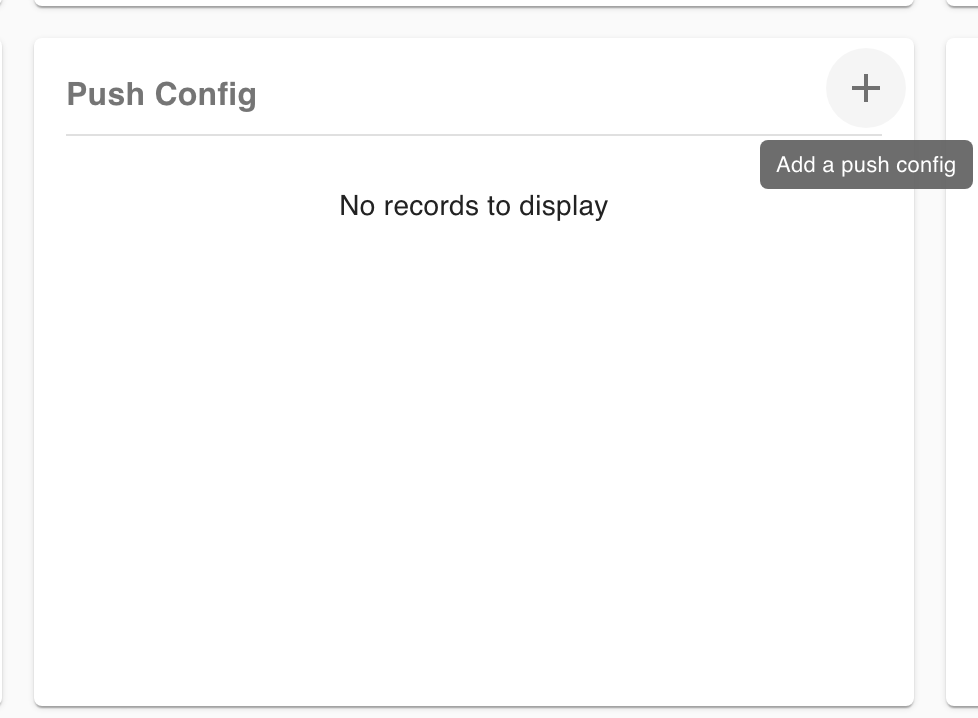
- Click the
+icon on the popup to add a new target. You can reuse existing targets from the list dropdown.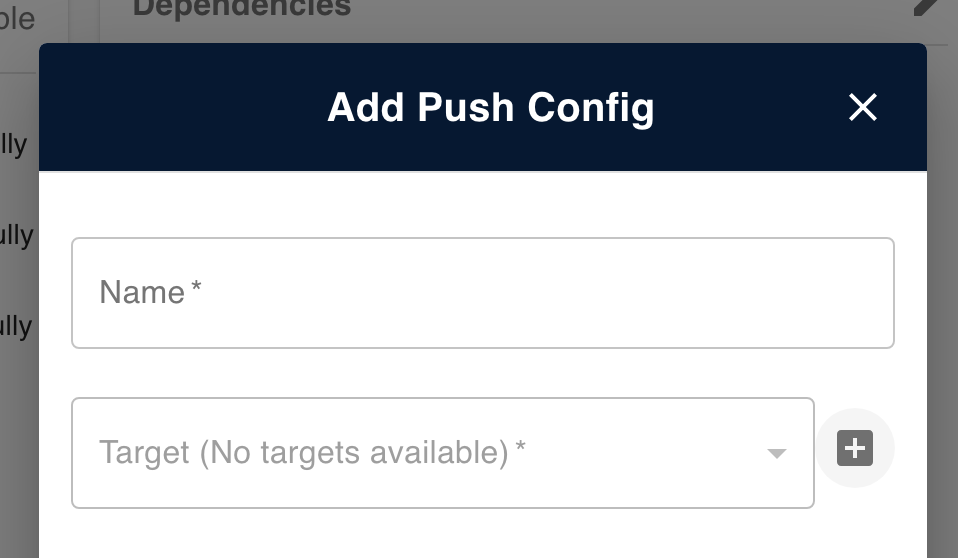
- Choose the target type, fill in all required fields and click
SAVE PUSH TARGET.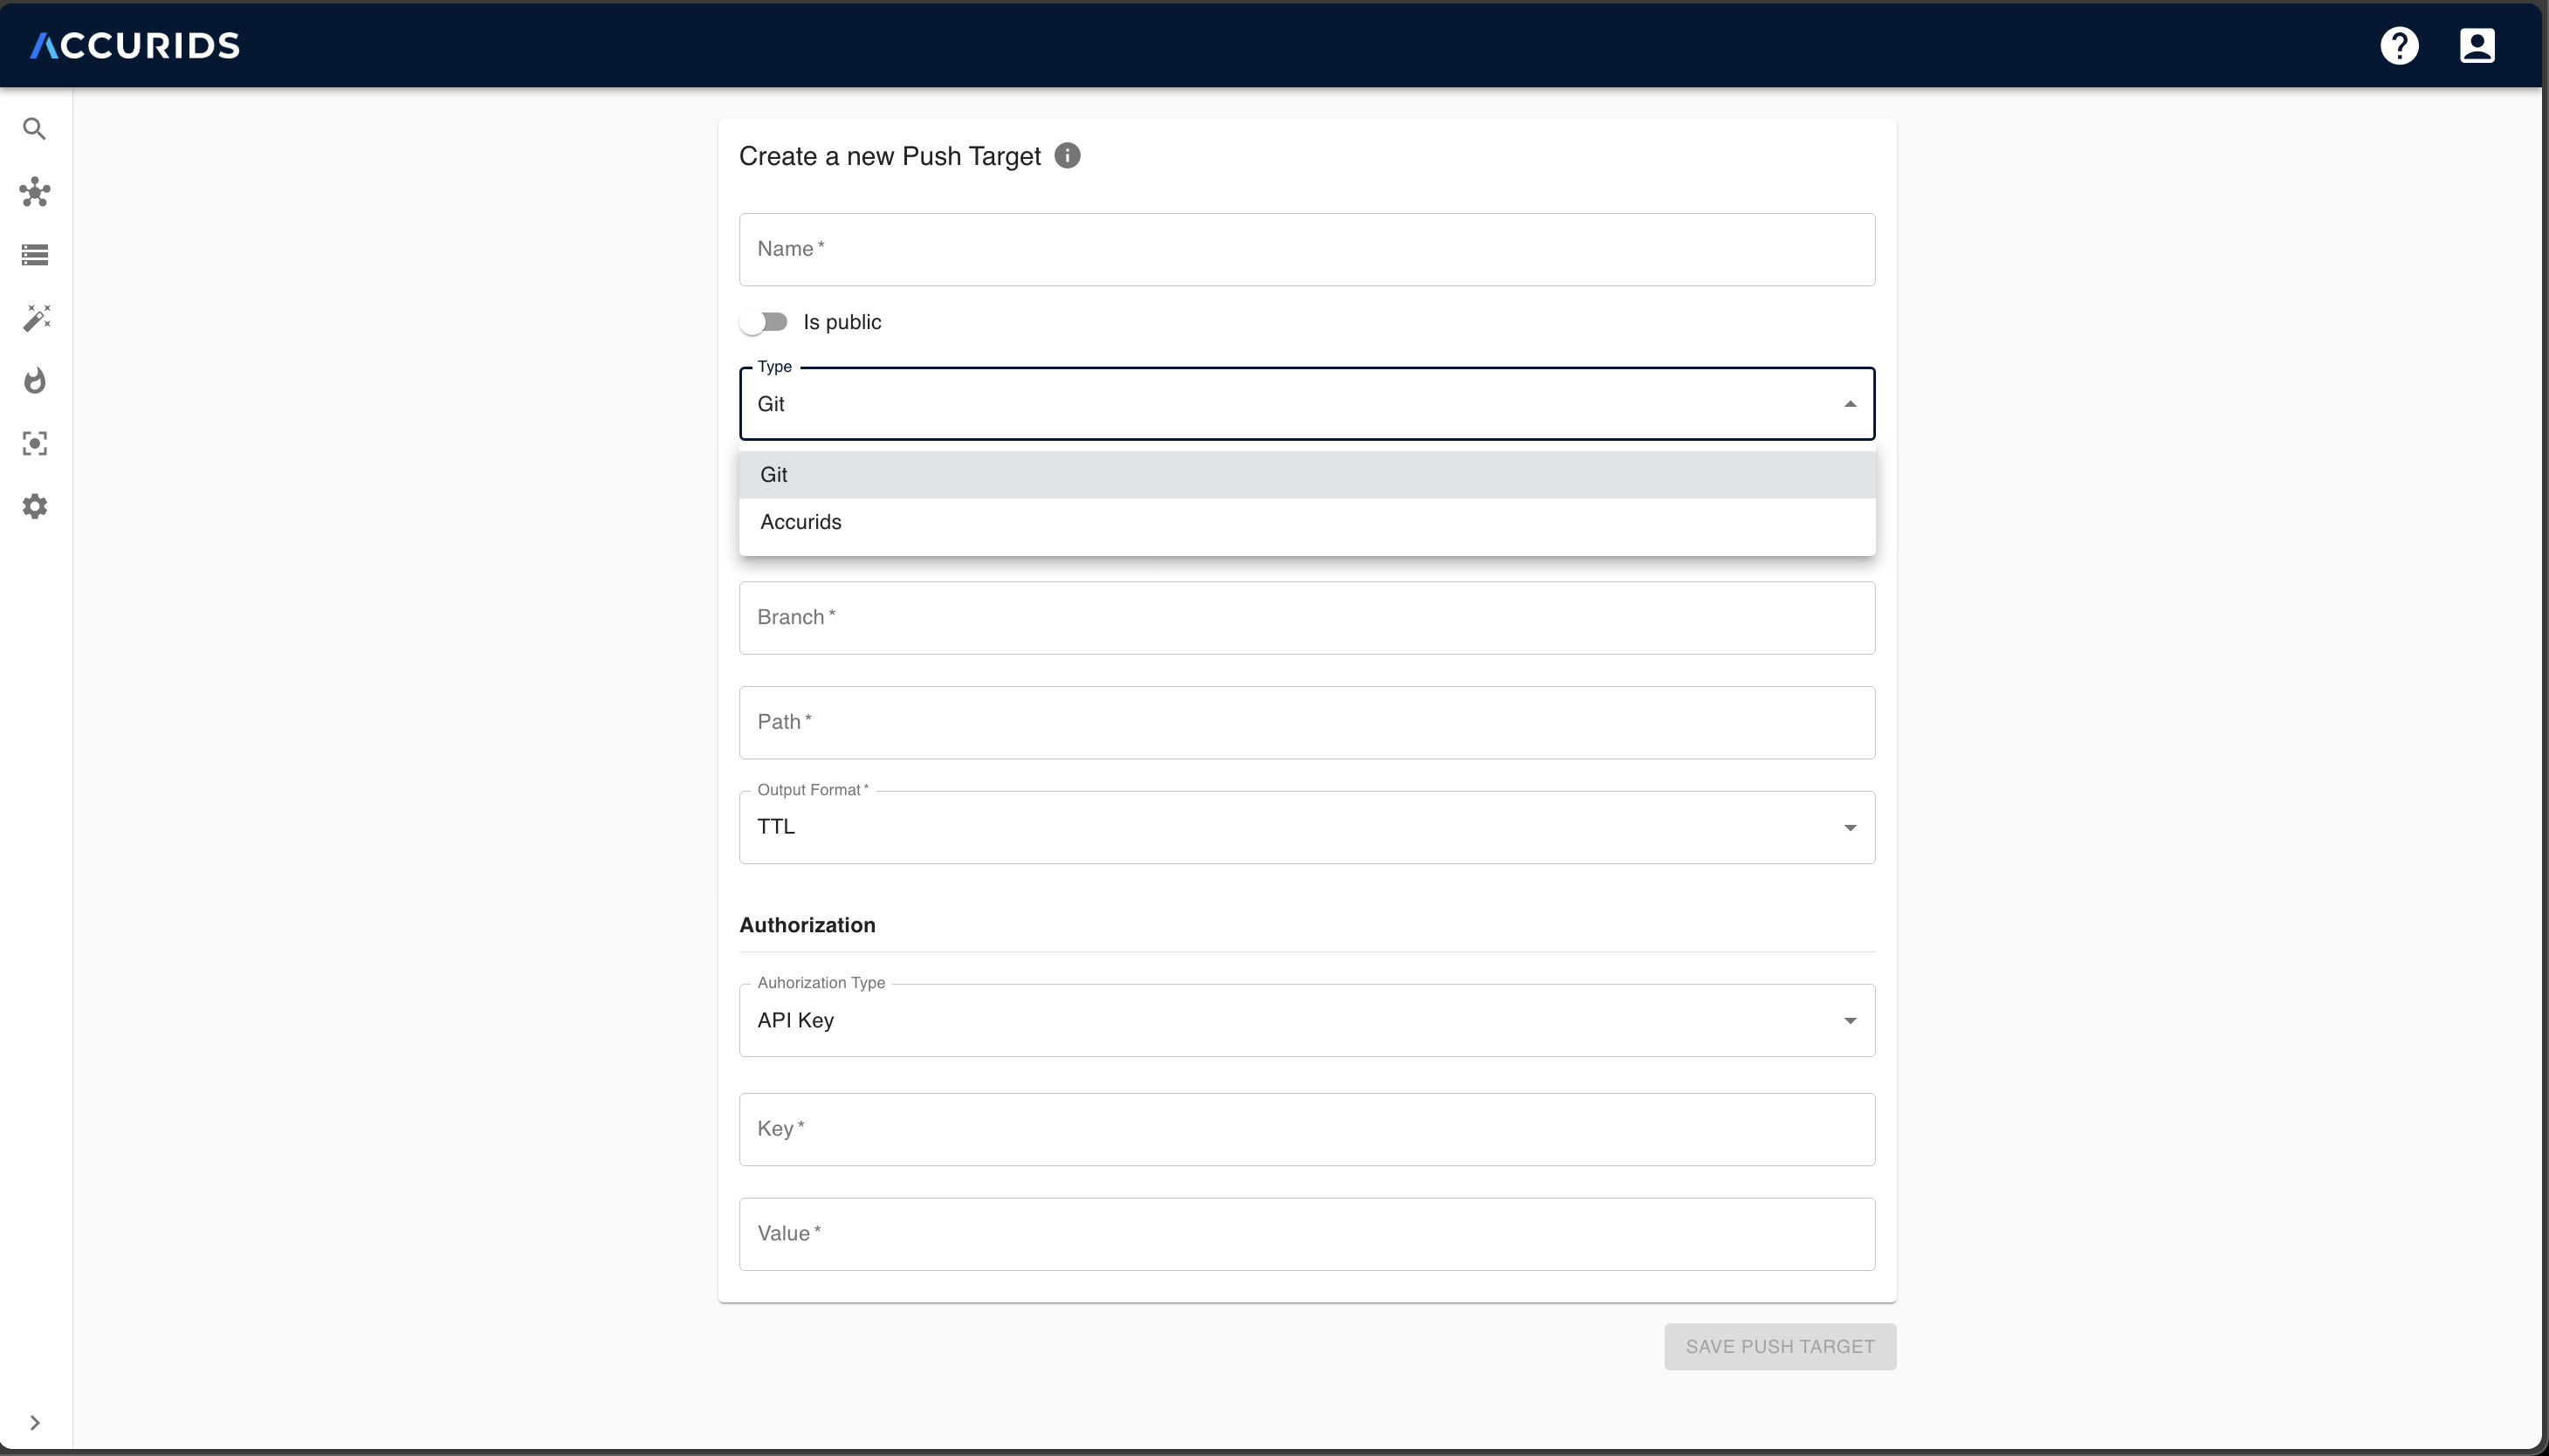
Configure a Push Configuration for a Dataset
For each dataset, you can create a Push configuration. This involves choosing a target for pushing the current dataset and providing values for configured parameters (if any).
- Go to the Dataset details page.
- Click the
+icon on thePush Configsection. - In this popup page, you will see all created targets in the dropdown list to choose the target. Additionally, you can also select the interval for when the Push action will be performed. Click
SAVEafter you have finished configuring it.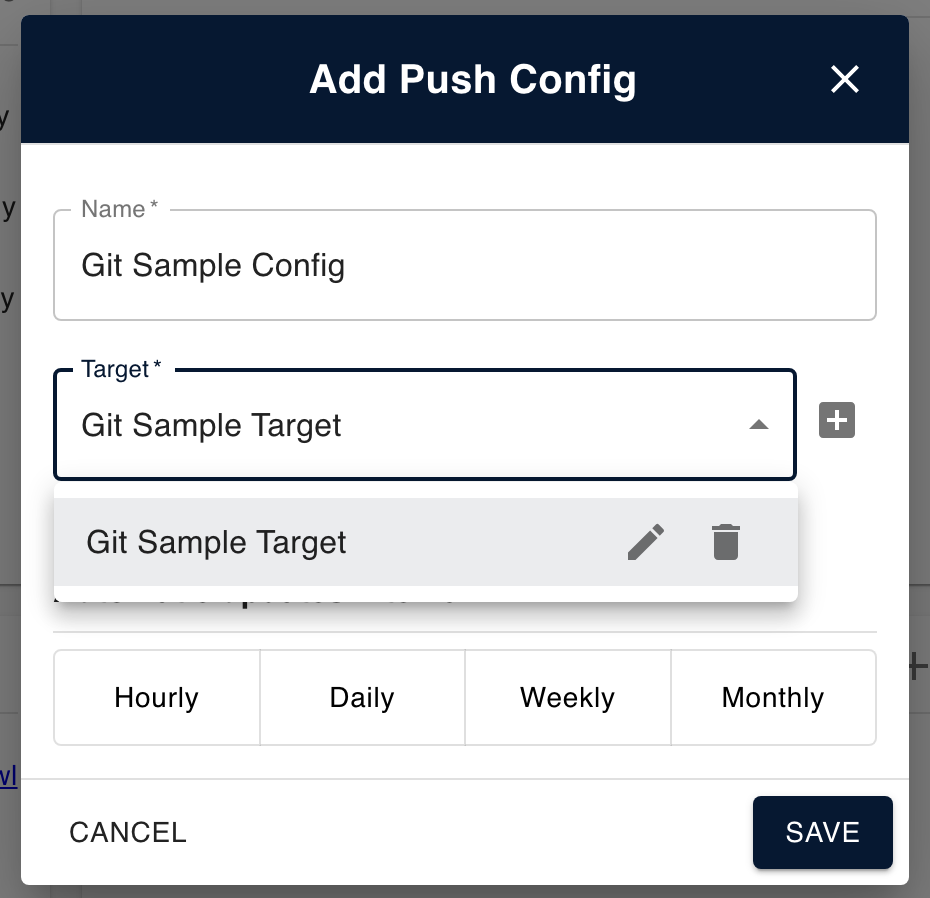
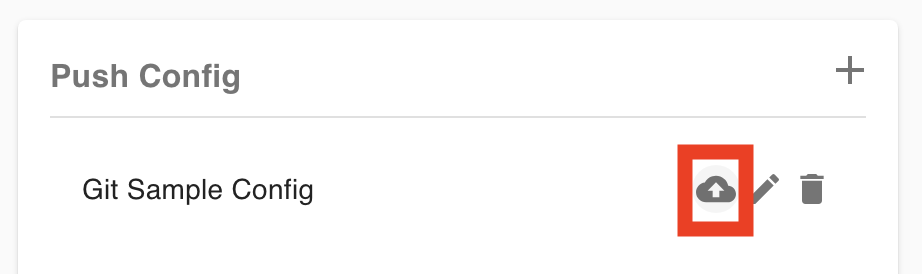
Perform an Immediate Push
After setting up your Push configuration, you can initiate the Push process by clicking the PUSH NOW button. This operation will run in the background, and upon completion, you will receive a notification indicating whether the push was successful or not.
- Click the push icon.
- Click
PUSH NOWon the popup page.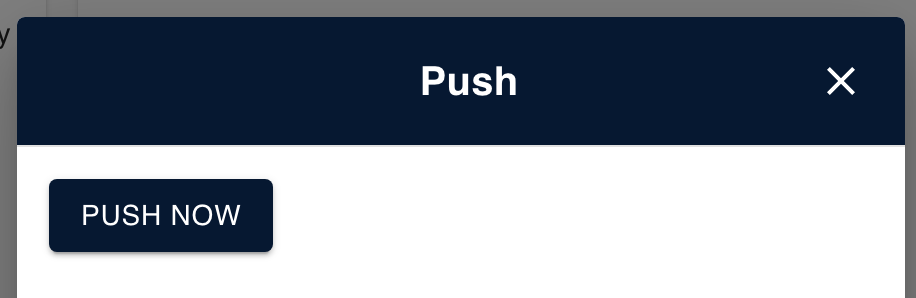
- Notification will appear indicating whether the push was successful or not.

- If a user attempts to push a dataset version that has already been pushed, a warning will be shown. However, the user can choose to continue with the process.
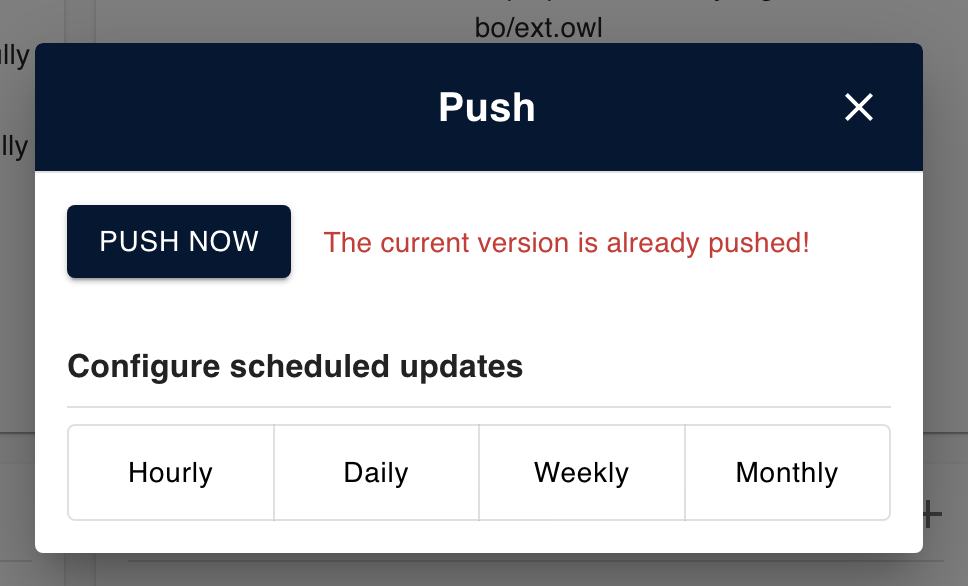
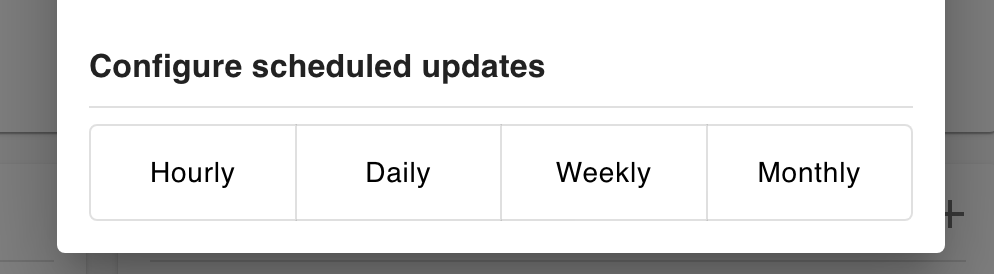
Perform a Scheduled Push
Once you've configure the push action to take place at specific intervals, it will be carried out automatically at the designated times. Note that when a scheduled push is configured, a dataset will only be pushed if its version is different from the version that has already been pushed.
- Click the push icon.
- Choose the interval for when the push action will be performed.
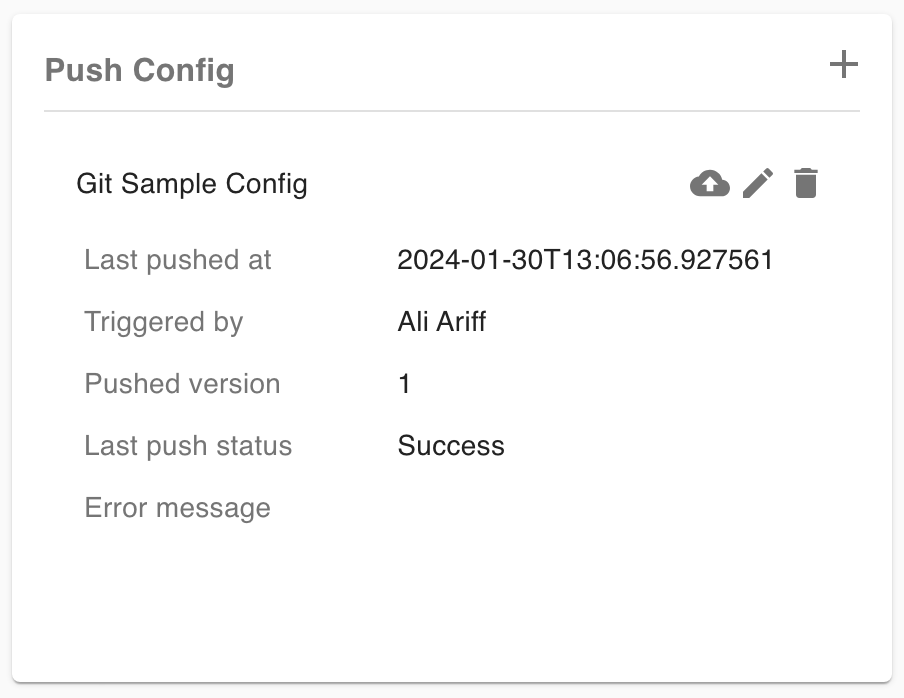
View Push History
You can view the history of your last push action. This allows you to troubleshoot any issues in case a push action fails.
- Click on the push configuration row.
Working with Parameters
Set Parameters for Your Target:
When creating a target, you can set parameters that can be overridden by users who are going to use it as part of the config to push datasets. Parameters are created by wrapping the parameter name in ${} (ex: ${env}). You can introduce this parameters in every target-specific fields except some common fields (name, isPublic). Once created, these parameters are immutable. In addition to any parameters you introduce, there are also these default parameters that can be used:
${dataset.id}: This parameter represents the unique identifier of the dataset.${dataset.tag}: This parameter represents the tag associated with the dataset.${dataset.version}: This parameter represents the version of the dataset.
Example:
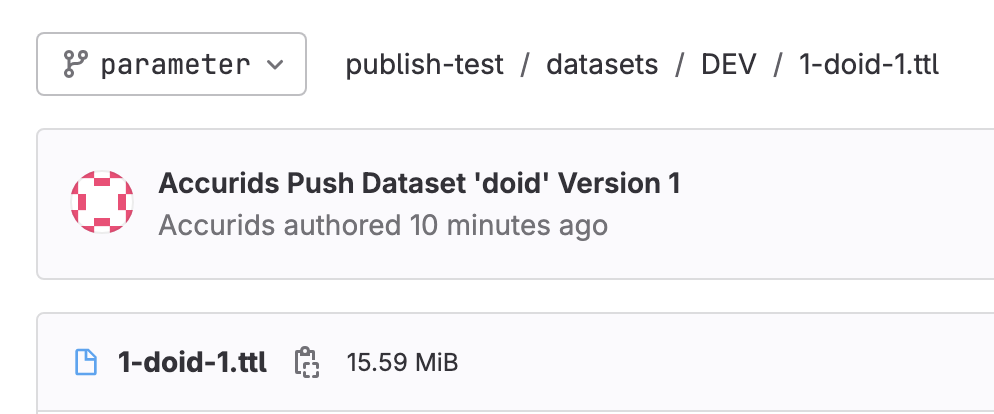
- For a Git target, we can introduce a parameter called
${env}in thePathfield to distinguish between what environment the dataset is pushing. Additionally, we also use the default parameters as part of the filename.
Configure Parameter Usage
You can configure how this parameter will be used, such as adding a validation regex to ensure valid input, and adding metadata like a display name and description to provide more information about the parameter. You can also set a default value for the parameter.
Example:
- As we introduced a new parameter
${env}, it will add a new section to configure the parameter usage. Here, we add some metadata like display name and description, as well as a validation regex to ensure that the allowed environment value is onlyDEV,QA, orPROD.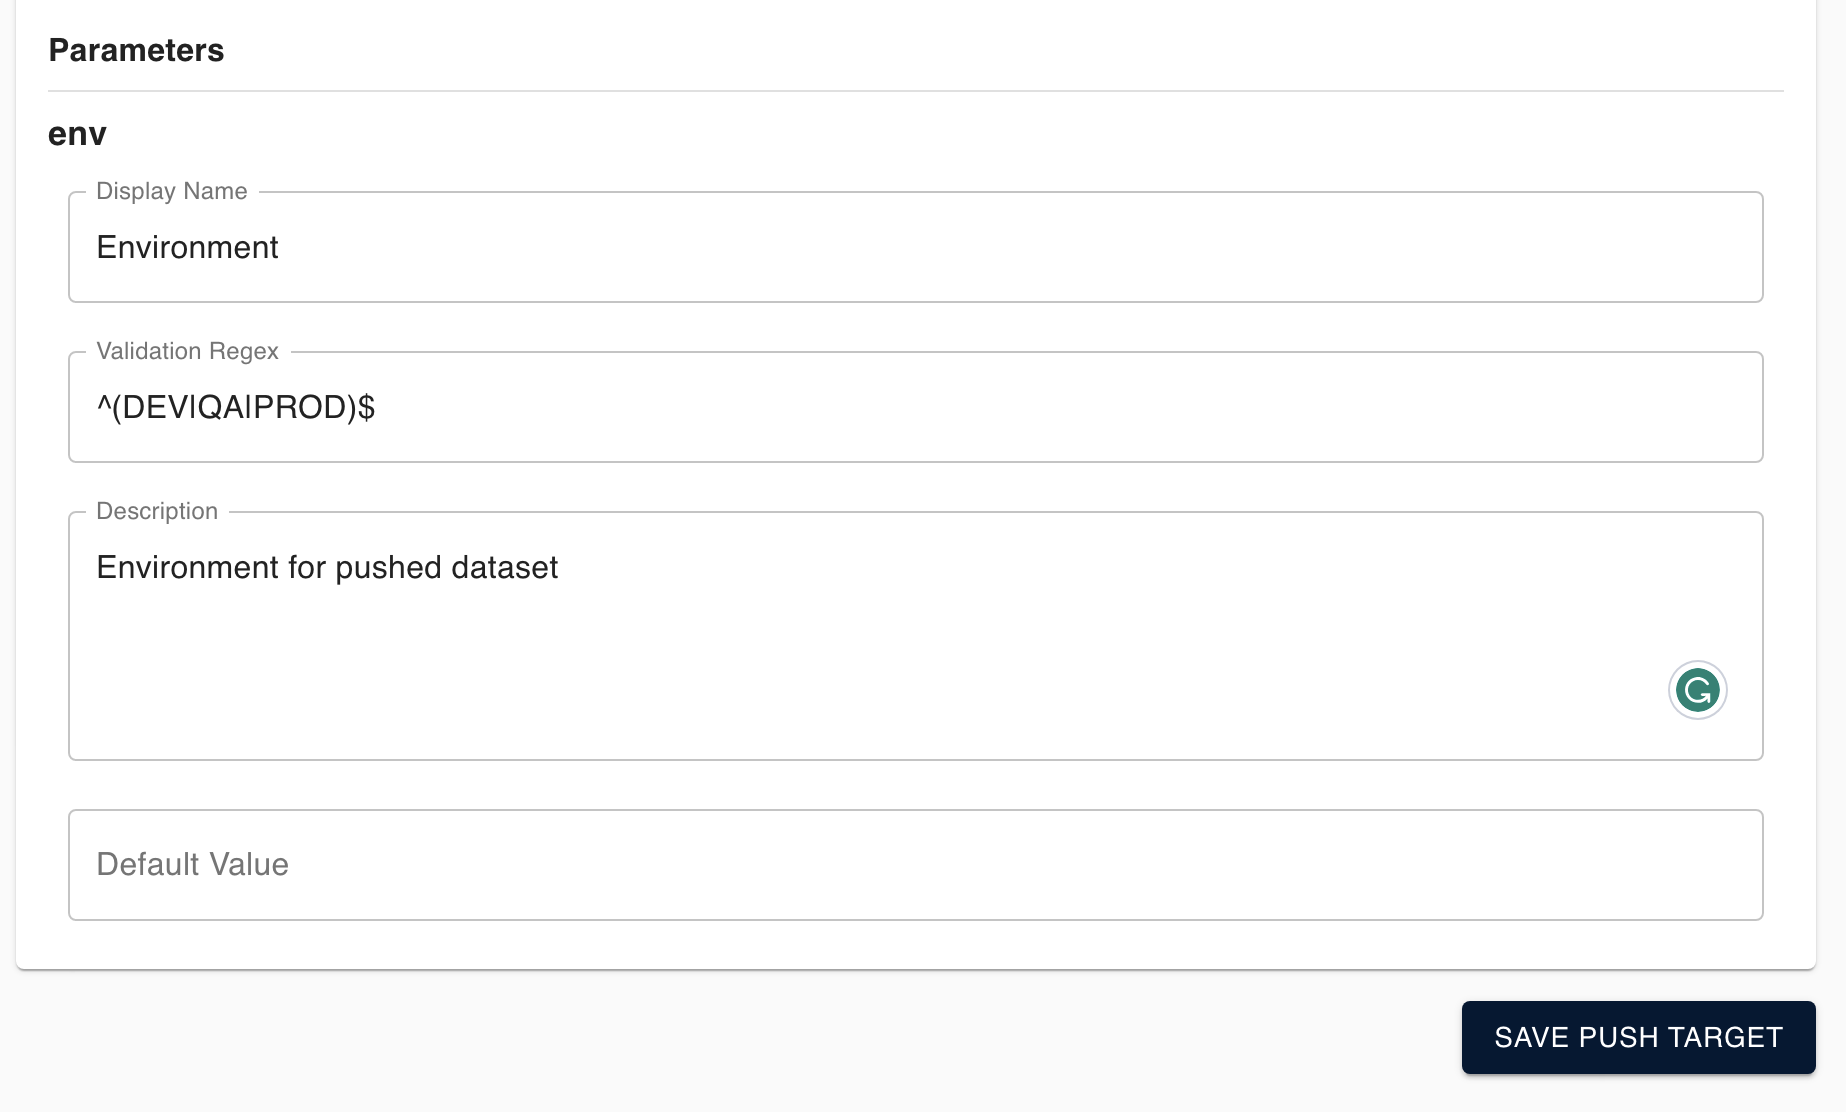
Provide Values for Configured Parameters
For targets with parameters, users who will use it in a push config must provide values for the configured parameters if no default value is set. If a default value is set, the user can choose to use the default value or provide a new value.
Example:
- When we choose the target with a parameter for the configuration, the user will get asked to provide a value for the configured parameter (in this case,
${env}).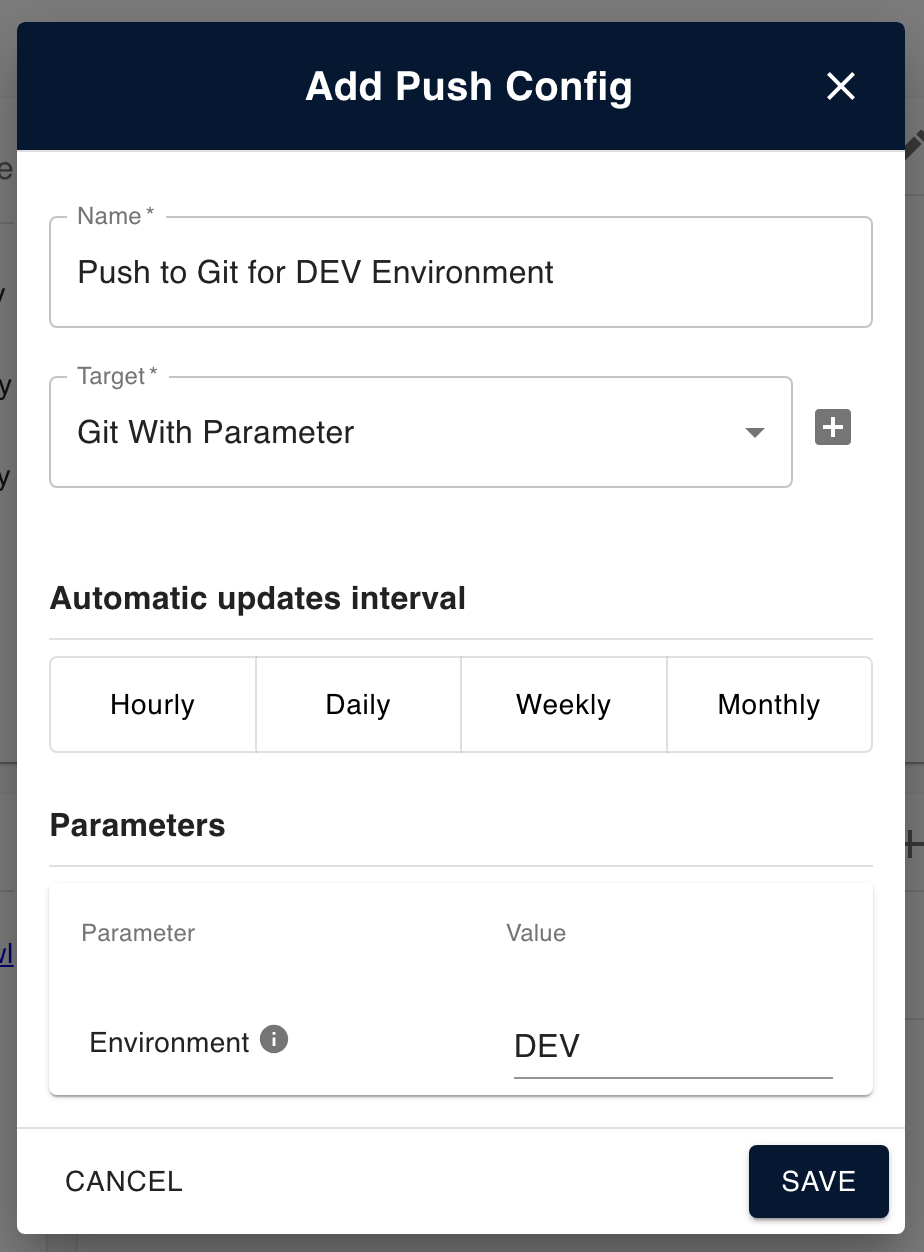
- And the resulting push dataset to Git will evaluate this value.
Target Types
Accurids supports multiple target types. Each target type has its own set of required fields.
Git
For Git targets, the following fields are required:
Repository URL: The URL of the Git repository where the data will be pushed.Branch: The branch in the Git repository where the data will be pushed.Path: The path in the repository where the data will be pushed.Output Format: The format of the data that will be pushed.
Accurids Instance
For Accurids instance targets, the following field is required:
Accurids URL: The URL of the Accurids instance where the data will be pushed.
Authorization Types
Accurids allows for various types of authorization, each with its specific required fields. Additionally, you can select No authorization if the target doesn't need any authorization.
API Key
For API Key authorization, the following fields are required:
Key: The key of the API Key.Value: The value of the API Key.
For retrieving the API Key:
-
Git: Depends on the Git provider. Please refer to the documentation of the Git provider.GitHub: https://docs.github.com/en/authentication/keeping-your-account-and-data-secure/managing-your-personal-access-tokens. Usage:Key:PAT,Value:<generated-token>.GitLab: https://docs.gitlab.com/ee/user/profile/personal_access_tokens.html. Usage:Key:PAT,Value:<generated-token>.Bitbucket: https://support.atlassian.com/bitbucket-cloud/docs/using-access-tokens/. Usage:Key:x-token-auth,Value:<generated-token>.
-
Accurids Instance: Go visit the API Keys page in linkhttps://<accurids-url>/api-keysand create a new API Key. Usage:Key:ApiKey,Value:<generated-api-key>.